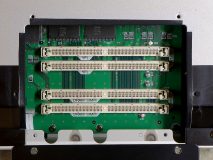
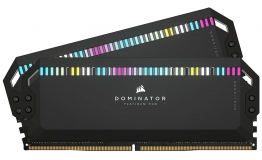
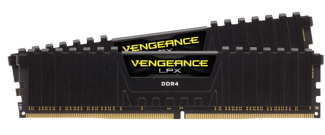
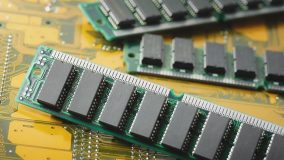
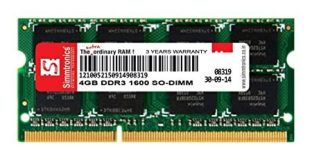
The RAM or random access memory is plug-and-play, but only in some cases. It is possible to add RAM simply by plugging it in. But, if you want to use the plug-and-play compatibility of the RAM, you need to use the same RAM as the one that came with your computer. You would also need to have the RAM slots available on your computer.
How to Install RAM in Your PC?
RAM modules are quite plug-and-play in most instances. One of the components that you will snappier with the upgrades is to change your RAM. The steps involved in how to change the RAM can be quite simple and easy to go with.
Let us learn how to install RAM on a computer:
Step 1: Disconnect the power cable from your system. You may also need to unplug the other back panels cables. This can be helpful in letting you lay the computer to one side.
Step 2: Remove the side panel and gain access to the interiors of the computer. RAM sticks should generally be long enough and are located on the right side of the processor. They are also observed to be quite cool. You would generally find two to eight memory sticks, and they are observed to consist of tabs. The tabs stick into the place on the slot.
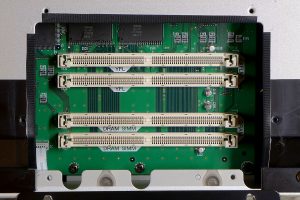
Step 3: Look for the slots where you would insert your modules on the motherboard. The motherboard manual should provide you with enough information on which slots you can insert your modules in. In most of the cases, the motherboard prefers second and fourth slots for inserting the memory modules.
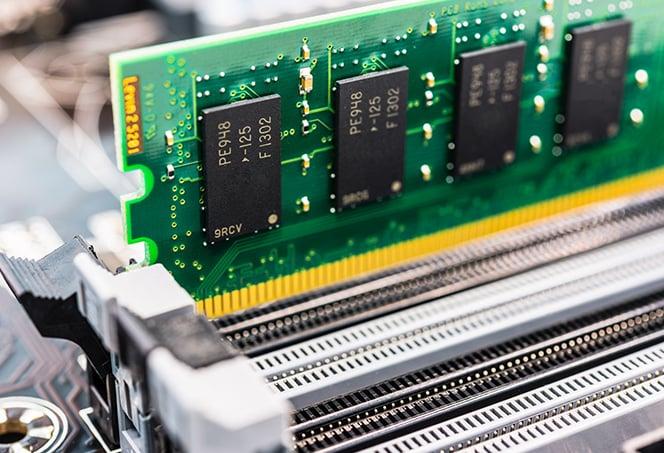
Step 4: Before installing the RAM stick, make sure that the wings at either of the ends are pushed back and are tilted away from the slot. It should be noticed that the RAM can be installed only in one way. It is advisable to check the correct orientation of the RAM module. Line it up correctly and avoid damaging the RAM stick or slot. If the RAM stick is reversed, you will end up with the stick not clicking in its space.
Step 5: Once all the sticks are in place and the stots have been properly occupied, you can confirm the same and close the wings in their place. Inspect everything and close the PC. Plug all the cables back in position.
You would also need to check the cooling requirements if any and that includes checking out the heat spreader needs if any.
That would do it, and you have installed the RAM on your computer.
How to Check If RAM is Detected?
When you are installing multiple RAM sticks on your device, your RAM may not be detected by your device. Your motherboard may be incompatible with a few of the RAM modules. That is precisely why it is necessary to check if the RAM is detected.
Imagine something of a situation where you have a DDR4 slot and trying to install the DDR3 RAM, and you are likely to run into issues. It is to be noted that only the compatible RAM modules get detected. Yet another possibility why your RAM is not detected can be due to the cheaper RAMs, which may be scammed or duped versions. In most situations, they fail to get detected.
A few fixes that can help you get rid of the RAM not detected error can include:
Fix 1: Recheck the proper seating
The memory module might have needed to be installed properly. This can cause the RAM not to detect an error. In such a situation, you may need to remove the RAM and insert it again. It may be required to apply a little pressure for inserting the RAM properly into the slot.
Fix 2: Check motherboard compatibility
The compatibility of the motherboard should be yet another factor that you may need to pay enough attention to before you install the RAM. If the motherboard on your computer is not compatible with the RAM that you are trying to install, you are likely to end up with the RAM not detecting an error. Some motherboards may not be compatible with DDR4 RAM, for instance, and may work only with DDR3 RAM, for instance.
You may also run the Windows Memory diagnostics tool to rule out any system-related issues. The powerful built-in feature can help you fix the RAM not detected issue.
How Much RAM Can Your Motherboard Handle?
In theory, a motherboard should support an unlimited amount of RAM. However, under practical situations, there can be a limit on the amount of RAM that can be supported on the motherboard. If you are using a motherboard manufactured after 2007, it should be able to handle 16 GB of RAM.
If you are looking to add more RAM to your computer, you need to learn how much RAM your motherboard can handle. It is quite important to learn how much RAM does your motherboard support. That would largely be dependent on the motherboard manufacturer and model of the motherboard.
The best and easiest option to check how much RAM your motherboard supports is to check the spec sheet of the motherboard. In case you are on a laptop, the details of the RAM, the amount and the type can be availed from the spec sheet that came with your motherboard.
The motherboard spec sheet should provide you complete detail on the following information:
- The total amount of RAM supported
- The maximum amount of RAM per stick or per slot
- The type of RAM supported
- The frequency of the RAM supported, which is also called speed of the RAM
- Information RAM supports single or multichannel memory
- Information on whether Error Correction code or ECC is supported
In essence, the motherboard model is the important factor that decides the amount of RAM it can handle.
How to Check Your Current RAM?
As we stated already, you need to check how much RAM your motherboard can handle before installing or upgrading your RAM. It is also necessary to check how much RAM you currently hold. Before you add more RAM, you will have to check the existing RAM on your device.
Here is how you can check how much RAM you have installed on your device currently:
- Launch Task manager. You can do this by using the key combinations of Ctrl + Shift + Esc
- Click on the performance tab and locate Memory. You should find the information on your RAM installation and usage.
The info available here should provide you with the details on the maximum amount of RAM available on your device right now and the amount of RAM used.
How to Install a RAM Upgrade in Your PC?
Before you can upgrade your RAM, make sure that you will need to check out the maximum RAM capacity of the motherboard. To upgrade and add new RAM, it would be advisable to locate and align the new RAM. Aligning the RAM in position can be quite simple and easy to go with.
Upgrading the RAM can be quite simple and easy as installing the RAM:
- Power down your desktop and let it cool down
- Unplug all the cords, cables, and peripherals.
- Place the laptop on an even surface.
- Unscrew and remove the bottom casing.
- Remove the existing RAM module by gently pushing it out of the slot.
- Make sure not to touch the gold connections on the module.
- Insert new RAM by aligning it properly with the memory slots
- Press it down firmly until it locks down in place
- Secure the panel and connect the cables back into their place.
That should do it. You have successfully installed the RAM upgrade. It is equally easy to upgrade or install RAM on the laptop. There is no difference between laptop and PC RAM installations.
The Parting Thoughts
RAM has always been the most important factor that you need to focus on. You can check out the RAM that your motherboard can handle and check out the exact amount of RAM that you want to check out.
A few FAQs
Can you plug in RAM?
It should be easy to plug and play the RAM. However, it is advisable to go with the best same exact type of the memory that currently exists on your computer.
What happens if I install too much RAM?
Adding too much RAM jeopardizes the current configuration of the computer. It is advisable to go with the correct RAM configuration specific to your computer.
In which slot should I install RAM?
In most of the recent motherboards, the RAM is detected irrespective of which slot that they are in. However, it is advisable to install the RAM in the lowest-numbered slots first.

